Build Standalone Expo .apk and .ipa with Turtle CLI [deprecated]
February 07, 2023 - 17 min
This article was updated on February 7, 2023.
NOTE: As of Expo SDK 47, the following method does not work any more.
With the release of EAS builds, it is necessary to have Internet access to create standalone Expo apps locally; see Running builds on your own infrastructure on Expo docs.
You can still use the React Native way to build applications locally after generating necessary files with expo prebuild (see this GitHub comment on expo/eas-cli).
This post will not receive further updates.
A great way to start writing React Native applications is to use Expo. You don’t even need to setup a development environment to get started thanks to Snack, an online React Native application editor. Your application is public by default. Sharing has never been that easy.
 Brown turtle swimming underwater, Photo by Wexor Tmg on Unsplash
However, you would like to share an application exclusively with some people, not through an app store or any public channel. One possibility is to share the built application file, e.g. an .apk file for Android and an .ipa file for iOS.
Expo is so great a service (oh, and did I mention free?) that they offer you to publish your app on their servers and if you wanted to build these .apk and .ipa files, you could do so on their servers.
The flow looks like:
$ expo publish
$ expo build:<PLATFORM>
and you obtain a nice URL to the artifact created for you when the build finishes.
But, again, this is public. On a server you don’t control. (Although, if you made the same mistake as I did, a ticket to their support can delete any files you had wished to keep private. 🥇)
Luckily for you, Expo provide the tools they are using on their servers for free (did I mention they’re great!?). The build process relies on a CLI tool called turtle-cli. It is open-source and available on GitHub.
Let us go through an example of how to create your application file without resorting to Expo servers. That means you can keep an application private and also build your application while being offline.
The following instructions assume you have bash and Node.js available. In my experience, using the current LTS version of Node.js (version 16.13.2) works best.
Caveat: I could not complete the iOS instructions to the end since I do not have an Apple Developer paid account.
We will go through the following steps:
A condensed version of these steps without much explanation or context is available on the accompanying GitHub repository.
1. Turtle CLI
To install Turtle CLI, run
$ npm install -g turtle-cliThis will make command turtle globally available on your system. To verify it was correctly installed, let’s print the version:
$ turtle -V
0.24.3
2. Create a dummy application
Let’s create a dummy application using Expo CLI. In your terminal, run
$ npx expo init ExampleApplicationIt will ask you a few questions:
# Expo version 5.0.3
npx expo init ExampleApplication
? Choose a template: › - Use arrow-keys. Return to submit.
    ----- Managed workflow -----
❯   blank               a minimal app as clean as an empty canvas
    blank (TypeScript)  same as blank but with TypeScript configuration
    tabs (TypeScript)   several example screens and tabs using react-navigation and TypeScript
    ----- Bare workflow -----
    minimal             bare and minimal, just the essentials to get you started
The blank template is enough for us.
If you have yarn installed, Expo will use it by default to install dependencies. You can use the --npm flag in the init command if you’d prefer to use npm instead.
Once it’s done setting up your project, you should see the following output in the terminal:
✅ Your project is ready!

To run your project, navigate to the directory and run one of the following yarn commands.

- cd ExampleApplication
- yarn start
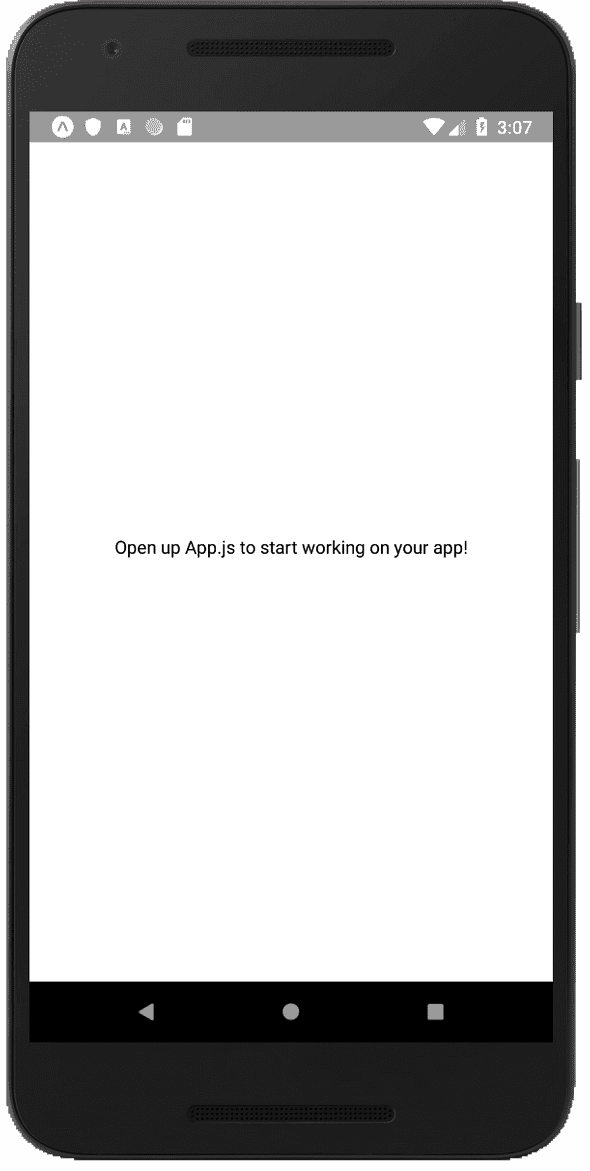
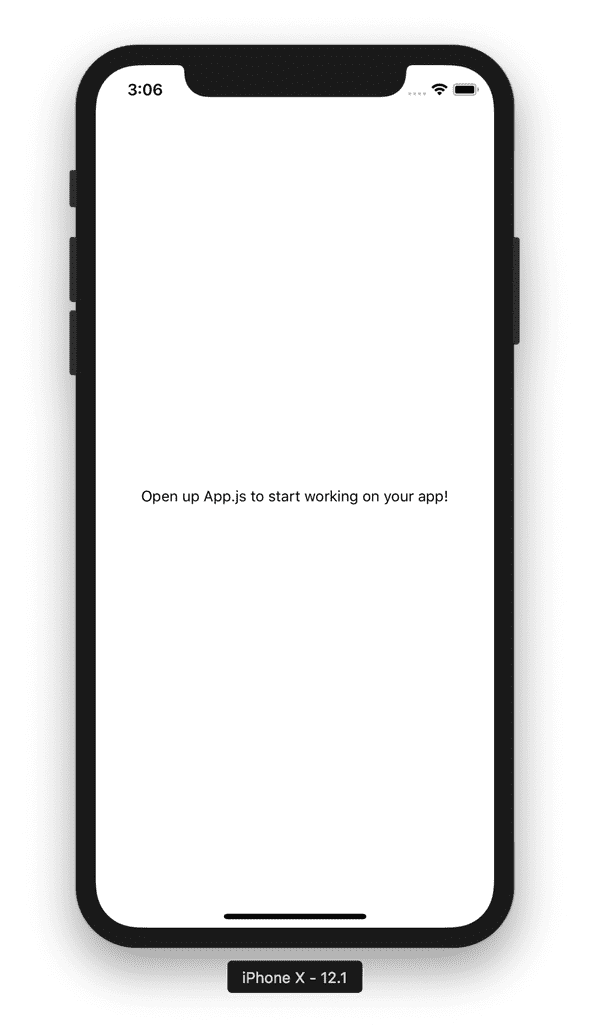
Run the commands and let’s verify the generated boilerplate works in our emulators:
To finish setting up the dummy application, you need to configure the app.json file because some configuration keys must be specified to build a standalone app.
If you would like to know more about these standalone app specific configurations, check Expo’s documentation for iOS and for Android.
For this tutorial, it is only necessary to specify the keys "bundleIdentifier" under "ios", and "package" under "android" in your app.json file:
...
    "ios": {
      ...
      "bundleIdentifier": "com.example.exampleApplication",
      ...
    },
    "android": {
      ...
      "package": "com.example.example_application",
      ...
    }
...
3. Publish Expo app on local server
Expo has this notion of app publishing: it allows you to share a link or QR code to Expo’s website and anyone can run your app through the Expo app on their devices.
Having your app published is also necessary for over-the-air (OTA) updates, allowing seamless updates to your application, and to publish your application (i.e. building your application files on Expo servers).
You would typically run
$ expo login -u $EXPO_USERNAME -p $EXPO_PASSWORD
$ expo publish
and your app would then be available at https://expo.dev/<EXPOUSERNAME>/<APPNAME>.
To have your Expo app “published” on your local server (and avoid public publishing on Expo servers), you will use a different command:
$ expo export --dev --public-url <your-url-here>The --dev flag is necessary because you will use a non-https server to publish your Expo app. Note that this prevents you from using OTA updates.
Your server does not need to be running for this step, but you do need to know which local URL you are going to use in advance. This tuorial assumes you will run a local server at http://127.0.0.1:8000.
You can now export the app:
$ expo export --dev --public-url http://127.0.0.1:8000
...
Export was successful. Your exported files can be found in dist
This command will create a dist directory containing the iOS and Android JavaScript bundles and the different assets you are using.
dist
├── android-index.json
├── assets
│   ├── 13685372945d816a2b474fc082fd9aaa
│   ├── 140c53a7643ea949007aa9a282153849
│   ├── ...
│   ├── fdbedb7e67aa7c0ecad83d9c2fa4dfba
│   └── fdc01171a7a7ea76b187afcd162dee7d
├── bundles
│   ├── android-a9defc54fb2ffdb7e6fdaf5b8d0be751.js
│   └── ios-a29c3e4ac97a2abdc5208fd4f06e7708.js
└── ios-index.json
You can now serve the dist directory on your web server, e.g.
$ npx http-server -p 8000 distNote: if for some reason you need to re-export your application (because you modified your app.json file since the last export, for instance), you must first remove the dist directory:
# assuming you are at the root of the project
$ rm -rf dist
$ expo export --dev --public-url http://127.0.0.1:8000
4. Create APK file — Android
First, verify that your local server is running. For example, you should see a similar output:
$ curl http://127.0.0.1:8000/android-index.json
{"name":"ExampleApplication","slug":"ExampleApplication","version":"1.0.0","orientation":"portrait","icon":"./assets/icon.png","splash":{"image":"./assets/splash.png","resizeMode":"contain","backgroundColor":"#ffffff","imageUrl":"http://127.0.0.1:8000/assets/201a91bd1740bb1d6a1dbad049310724"}...
4.1. Prerequisites
For Turtle CLI to work correctly to create an .apk file for Android, you need to make sure the following dependency is installed: Java Development Kit (version 8).
If you know which Expo SDK version you are going to use, you can run
$ turtle setup:android --sdk-version <SDK-VERSION>This will take some time:
$ turtle setup:android --sdk-version 44.0.5
Jan 20 20:22:45 turtle[61127] INFO:  Downloading Android SDK
  platform: "android"
  buildPhase: "setting up environment"
downloading [====================] 98% 0.2s
...
Jan 20 20:26:56 turtle[61127] INFO:  shell app for SDK 44.0.5 doesn't exist, downloading...
  platform: "android"
  buildPhase: "setting up environment"
downloading [=================== ] 95% 0.5sJan 20 20:27:08 turtle[61127] INFO:  shell app has been downloaded
  platform: "android"
  buildPhase: "setting up environment"
...
Jan 20 20:29:51 turtle[61127] INFO:  dependencies installed!
  platform: "android"
  buildPhase: "setting up environment"
Jan 20 20:29:51 turtle[61127] INFO:  it's all set!
  platform: "android"
  buildPhase: "setting up environment"
In the meantime, you can move on to the next section.
4.2. Create Keystore
Just like any other Android app, this app must be signed with some security certificates. In Android-land, as far as I understand, it’s called a keystore. The instructions to create such a keystore file are available on the Android Developers documentation.
Basically, just create a dummy Android project with Android Studio, and then go to Build > Generate Signed Bundle / APK.... Choose APK and press Next. The UI will ask you which app you want to sign, and your dummy app should be pre-selected. On the same screen, press on the button Create new...; just fill the form and you’re good to go.
Alternatively, if you have keytool CLI utility available on your system (you can check that by trying keytool --help in your terminal), you can generate a keystore file with the following command
$ keytool -genkeypair -v -keystore keystore.jks -alias keyalias -keyalg RSA -keysize 2048 -validity 9125
Enter keystore password:
Re-enter new password:
What is your first and last name?
  [Unknown]:
What is the name of your organizational unit?
  [Unknown]:
What is the name of your organization?
  [Unknown]:
What is the name of your City or Locality?
  [Unknown]:
What is the name of your State or Province?
  [Unknown]:
What is the two-letter country code for this unit?
  [Unknown]:
Is CN=Unknown, OU=Unknown, O=Unknown, L=Unknown, ST=Unknown, C=Unknown correct?
  [no]:  yes

Generating 2,048 bit RSA key pair and self-signed certificate (SHA256withRSA) with a validity of 9,125 days
	for: CN=Unknown, OU=Unknown, O=Unknown, L=Unknown, ST=Unknown, C=Unknown
Enter key password for <keyalias>
	(RETURN if same as keystore password):
Re-enter new password:
[Storing keystore.jks]

Warning:
The JKS keystore uses a proprietary format. It is recommended to migrate to PKCS12 which is an industry standard format using "keytool -importkeystore -srckeystore keystore.jks -destkeystore keystore.jks -deststoretype pkcs12".
As a TL;DR, you can just download a dummy certificate on the accompanying repository under should-be-private/keystore.jks, for testing purposes only. The keystore file is hugely important if you ever plan to submit your app to Google Play store: it’s the only way to assert you’re the rightful owner to provide new updates to your app.
File: keystore.jks
Keystore Password:keystorepassword
Keystore Key Alias:keyalias
Keystore Key Password:keypassword
4.3. Build APK
Make sure that you are serving the dist directory on http://127.0.0.1:8000 as explained above in Run a local server. Assuming you are using bash as your shell, from the root of your project, run:
EXPO_ANDROID_KEYSTORE_PASSWORD="keystorepassword" \
EXPO_ANDROID_KEY_PASSWORD="keypassword" \
turtle build:android \
  --type apk \
  --keystore-path ./should-be-private/keystore.jks \
  --keystore-alias "keyalias" \
  --allow-non-https-public-url \
  --public-url http://127.0.0.1:8000/android-index.json
Note that you need the flag --public-url to point to http://127.0.0.1:8000/android-index.json. In addition, it is also necessary to use the --type apk flag to produce an APK file since version 0.8.0 of turtle-cli.
The build may take some time:
Jan 20 20:38:17 turtle[61719] INFO:  Using manifest: {
  "name": "ExampleApplication",
  "slug": "ExampleApplication",
  "version": "1.0.0",
  "orientation": "portrait",
  "icon": "./assets/icon.png",
...
Jan 20 20:38:51 turtle[61719] INFO:  Starting a Gradle Daemon (subsequent builds will be faster)
  platform: "android"
  buildPhase: "running gradle"
  source: "stdout"
...
Once it finishes, you should see this output in your terminal:
Jan 20 20:43:19 turtle[61719] INFO:  copied build to ~/expo-apps/@anonymous__ExampleApplication-7f15208a56304617a200538cacd2e50e-signed.apk
  platform: "android"
  buildPhase: "copying build artifact"
This message gives you the location of your built .apk file. You can now move on to the Distribute and install section below if you are not interested in creating an .ipa file for iOS.
Note: if the build fails because of some Gradle error, like Could not resolve com.theartofdev.edmodo:android-image-cropper:2.8.0, make sure to open Android Studio and update the Android SDK and SDK Build-Tools. This should fix it.
5. Create IPA file — iOS
First, verify that your local server is running, e.g.
$ curl http://127.0.0.1:8000/ios-index.json
{"name":"ExampleApplication","slug":"ExampleApplication","version":"1.0.0","orientation":"portrait","icon":"./assets/icon.png","splash":{"image":"./assets/splash.png","resizeMode":"contain","backgroundColor":"#ffffff","imageUrl":"http://127.0.0.1:8000/assets/201a91bd1740bb1d6a1dbad049310724"...
5.1. Prerequisites
For Turtle CLI to work correctly to create an .ipa file for iOS, you need to make sure your system is macOS and that the following dependencies are installed:
- Xcode (version 13.2.1 or newer)
- fastlane
Note: make sure that you have run Xcode at least once and that you have agreed to the license agreements.
For more details, see Expo’s documentation.
If you know which Expo SDK version you are going to use, you can run
$ turtle setup:ios --sdk-version <SDK-VERSION>If it errors out, saying that you don’t have the right version of
fastlane, try re-installingfastlane(guide). The version used in this article isfastlane 2.200.0.
This will take some time:
$ turtle setup:ios --sdk-version 44.0.5
Jan 20 21:18:03 turtle[48488] INFO:  shell app for SDK 44.0.5 doesn't exist, downloading...
  platform: "ios"
  buildPhase: "setting up environment"
downloading [                    ] 1% 8514.8s
...
...
Jan 20 21:24:58 turtle[48488] INFO:  it's all set!
  platform: "ios"
  buildPhase: "setting up environment"
In the meantime, you can move on to the next section.
5.2. Create Signing keys
This assumes you have an Apple Developer Account, which is a paid account.
To create your distribution certificate file, or .p12 file, you can follow this guide.
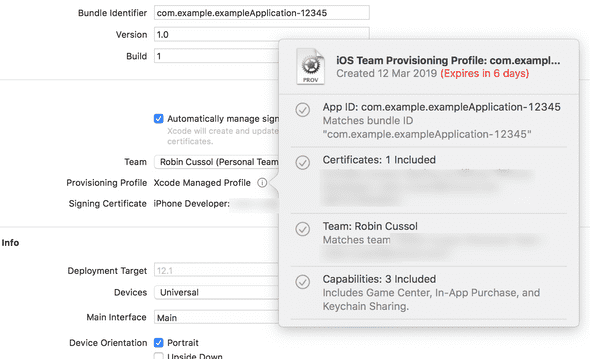
You will also need your Apple Team ID and a Provisioning Profile that you can generate through Xcode as well. This other guide covers in greater lengths what all these cerficates are for and how to obtain them.
Note that the provisioning profile expires in 6 days in my case, since I do not have an Apple Developer paid account.
Sadly, it is not possible to share example files.
5.3. Build IPA
Make sure that you are serving the dist directory on http://127.0.0.1:8000 as explained Run a local server. Assuming you are using bash as your shell, from the root of your project, run:
EXPO_IOS_DIST_P12_PASSWORD="<PASSWORD HERE>" \
turtle build:ios \
  --team-id YOUR_TEAM_ID \
  --dist-p12-path /path/to/your/dist/cert.p12 \
  --provisioning-profile-path /path/to/your/provisioning/profile.mobileprovision \
  --allow-non-https-public-url \
  --public-url http://127.0.0.1:8000/ios-index.json
Note that you need the flag --public-url to point to http://127.0.0.1:8000/ios-index.json.
Once the build finishes successfully, you should get the path to your .ipa file.
6. Distribute and install
6.1. on Android
Take your .apk and share it through some Google Drive link or other medium of your choice.
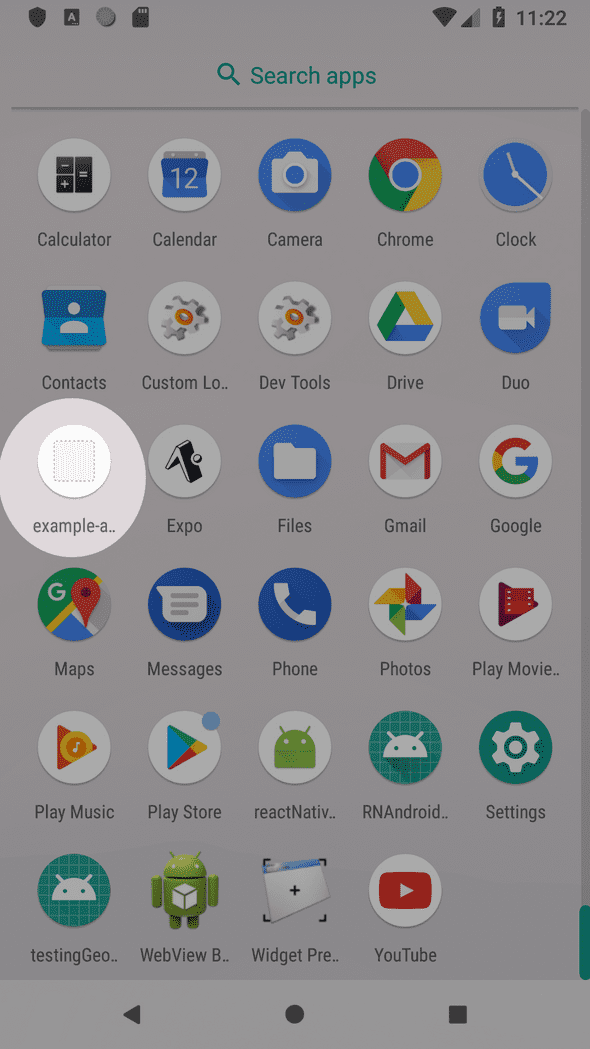
If you download this .apk file through an Android device, it should offer you to install the application on the device.
Trick: if the URL is really not friendly to type, and for whatever reason you have to type it manually, use a QR Code generator (e.g. http://www.barcode-generator.org/) and your device’s camera to simplify your life!
Alternatively, if you connect an Android device to your computer, you should be able to run:
$ adb devices
emulator-5554	device
to list all your connected Android devices and emulators. (In my case, only the emulator is “connected”.)
It is then possible to install the .apk file by running:
$ adb -s emulator-5554 install ~/expo-apps/@anonymous__ExampleApplication-7f15208a56304617a200538cacd2e50e-signed.apk
Performing Streamed Install
Success
6.2. on iOS
Caveat: I could not fully test this section, so my apologies if this does not work as intended.
Since you should have Xcode, the most promising solution is in this guide. It also mentions other ways to install the .ipa file.
That’s it for now, thank you for reading this far. You will find below the resources mentioned in this article.
If you have any questions or comments, please drop me a line on Twitter. I shall reply as soon as possible.
Stay tuned for more.
Resources
- Expo: https://expo.dev
- Turtle CLI: https://github.com/expo/turtle#readme
- Expo’s guide to Building Standalone apps: https://docs.expo.dev/classic/building-standalone-apps/
- Configuring
app.json: https://docs.expo.dev/workflow/configuration/ - Expo docs to configure CI with Turtle CLI: https://docs.expo.dev/classic/turtle-cli/
- Expo docs to host application on your own servers: https://docs.expo.dev/distribution/hosting-your-app/
- How to create a keystore for Android: https://developer.android.com/studio/publish/app-signing#generate-key
- Supporting GitHub repository: https://github.com/RobinCsl/build-standalone-expo-app/
Personal blog written by Robin Cussol
I like math and I like code. Oh, and writing too.


Thanks! It Is very helpful to me.
Thanks for your comment! Glad that it helped! :)
Let me know if there are other things you’d like me to cover!
When we build an Expo project for IOS using expo servers, the .ipa available after the build is very big (>150Mb) and his purpose is to put it on Apple's Test-flight (with bitcode, etc..., inside) and we cannot install it directly. Bet
Hi Bet,
If we believe this article on the Apple Developers forum, it should still be possible to install the .ipa file without Testflight:
Hope that helps!
Just want to edit one thing. Use https instead of http in the url of local server.
Hello Anonymous :)
Thanks for the comment!
The section Export the app should read
$ expo export --dev --public-url http://127.0.0.1:8000with the additional--devflag like mentioned in the paragraph above Run a local server.What's more, the build commands should also have the
--allow-non-https-public-urlflag for them to complete successfully, for example for Android:$ EXPO_ANDROID_KEYSTORE_PASSWORD="keystorepassword" \ EXPO_ANDROID_KEY_PASSWORD="keypassword" \ turtle build:android \ --type apk \ --keystore-path ./should-be-private/keystore.jks \ --keystore-alias "keyalias" \ --allow-non-https-public-url \ --public-url http://127.0.0.1:8000/android-index.jsonThese should now be fixed!
I am currently working on simplifying and updating the article to use HTTPS URLs, even on localhost. This will of course come at the cost of enabling a local SSL certificate, which will be the subject of another post. ;-)
Thanks again for the comment, I hope that my answer is helpful!
Hi Robin, When we build an Expo project for IOS using expo servers, the .ipa available after the build is very big (>150Mb) and his pupose is to put it on Apple's Testfligh (with bitcode, etc..., inside) and we cannot install it directly. If we build for IOS with Turtle CLI, the .ipa with be smaller ? We may install it directly ? Thanks! Best regards, Leandro Mengue
Hi Leandro, thanks for reaching out :)
I don’t think the .ipa file will be smaller if you build it locally with Turtle CLI as Expo’s servers use Turtle CLI too as far as I know.
The size of the built file might however depend on which workflow you used when you initialised the Expo app; bundling the Expo Kit might add a few MBs, so I would expect the bare workflow to produce a leaner .ipa file. I haven’t verified this though.
As for installing the .ipa directly, I believe having a URL to the file that you would open on your iPhone or iPad should be enough, see this guide for example.
Hope that helps and thanks again for your comment :)
Best regards
Hi Robin, Thanks for the article. I got stuck exactly after sudo turtle build:android (gave input in same format as mentioned above)
Below is the error i get. I have setup keystore and local server sucessfully.
Any input is appreciated. Thanks in advance!
Aug 11 20:08:26 turtle[12530] ERROR: Failed to build standalone app err: Error: Please provide all required credentials - Keystore (with password), Keystore alias and Key password at prepareCredentials (/usr/local/lib/nodemodules/turtle-cli/src/bin/commands/build/android.ts:62:13) at /usr/local/lib/nodemodules/turtle-cli/src/bin/utils/builder.ts:80:33 at Command. (/usr/local/lib/node_modules/turtle-cli/src/bin/index.ts:23:12) platform: "android" Usage: build:android|ba [options] [project-dir]
Hi Baranikumar,
Thanks for your comments and sorry that you got stuck!
The error message you attached seems to indicate that the issue lies with the keystore file. You might be missing the correct path to the file, or provided an incorrect entry for the keystore password, or for the key password or for the keystore alias.
What shell are you using? The command I provided sets the value of some necessary environment variables which wouldn’t work as is with Fish shell for example
(but it should with Bash or Zsh). I just quickly tried with both Bash and Zsh and it looks like I missed some semicolons at the end of the environnement variables declarations.So maybe try instead:
EXPO_ANDROID_KEYSTORE_PASSWORD="keystorepassword"; \
EXPO_ANDROID_KEY_PASSWORD="keypassword"; \
turtle build:android \
  --type apk \
  --keystore-path ./should-be-private/keystore.jks \
  --keystore-alias "keyalias" \
  --allow-non-https-public-url \
  --public-url http://127.0.0.1:8000/android-index.json
Hope that helps! Thanks again for your comment! :)
However, you would like to share an application exclusively with some people, not through an app store or any public channel. One possibility is to share the built application file, e.g. an .apk file for Android and an .ipa file for iOS.
turtle setup:android --sdk-version
the SDK-Version, how do I know which version I should use? Initially, I thought this specified the SDK version turtle had (turtle --version) so I supplied the value of "4.8.1" - resulting in errors. Later, I copied the version you specified; it worked. However, could you explain where we find or decide on which version to specify?
Hi Emir!
Sorry for the confusion: the value you should pass for the
--sdk-versionflag is the Expo SDK version you are currently using. For example, if in yourpackage.json, the version forreact-nativereads:"dependencies": { ... "react-native": "https://github.com/expo/react-native/archive/sdk-42.0.0.tar.gz", ... }then you should pass 42.0.0 for the
--sdk-versionflag, like so:turtle setup:android --sdk-version 42.0.0Hope that helps!
Is your application really public by default? If I create an expo project, I see on my expo.io account that my application is private. Or are the builds still public and anybody can find them?
Hi Nick!
When it comes to Expo's "normal" way of publishing an app, the answer is yes, it is public by default. (Though this might change with their new EAS build system, which I don't know much about at this point)
If you run
expo publishin your project, you will get a similar output:Uploading JavaScript bundles Publish complete📝 Manifest: https://exp.host/@robincsl/test Learn more.⚙️ Project page: https://expo.io/@robincsl/test Learn more.Done in 160.67s.and this link: https://exp.host/@robincsl/test contains the URLs to the JavaScript bundles for my app, meaning my code is accessible in clear for anyone to see.
Now to obtain an APK file, I can run
expo publish:android, and that will add my project to their build queue. Once it completed, the APK is available from some S3 bucket, for example https://exp-shell-app-assets.s3.us-west-1.amazonaws.com/android/%40robincsl/test-bd4d52b8f5084564b71e546efd3a6675-signed.apk.What's more: if you look at my profile, https://expo.io/@robincsl, the
testapp is not listed (because it is configured as Private), but you can still visit https://expo.io/@robincsl/test and see the page for my app.Granted, someone would need to be motivated to find these URLs, but I'm sure they are logged somewhere on Expo's servers.
If you really don't want your code to hit Expo's servers (because the project is sensitive, etc.), then
expo exportwith Turtle CLI will help.Hope that helps :)
You will also need your Apple Team ID and a Provisioning Profile that you can generate through Xcode as well. This other guide covers in greater lengths what all these cerficates are for and how to obtain them.
Hello, can you answer this question? How should I generate the key required for google app sign? I opened my expo project in android studio, there is no Build> Generate Signed Bundle/APK.
https://stackoverflow.com/questions/68405245/how-expo-builds-the-key-required-by-google
Hello :)
Thank you for your question.
In section 4.2 Create Keystore , you can read:
I will try to make it more prominent that you should create a new Android project, and not use your current Expo project. You will never need to reuse this Android project, it's only necessary once to create the keystore files.
Note that you could also use the
keytoolCLI if you have it installed (it comes with Android Studio if I recall correctly).Hope that helps!
Thank you for your answer, I am still waiting for the text message to be created, I will answer it with you to operate it, thank you very much
When generating and IPA file, don't use double quotes for the password. Thanks for all the info. it helped greatly. Also just wanted to share that when generating an IPA file, don't use double quotes for the EXPOIOSDISTP12PASSWORD="". Thanks again!
Thank you for your comment! Glad it helped you! I will update the article to match Expo’s latest SDKs soon and will amend the section thanks to your feedback! Cheers!
Let us go through an example of how to create your application file without resorting to Expo servers. That means you can keep an application private and also build your application while being offline.
This tutorial simplifies the process of building standalone Expo apps with Turtle CLI. Clear instructions and easy-to-follow steps make it accessible for beginners like me. Thanks for sharing this valuable resource!